
(NOTE: The screenshots are in .PNG format which means it's in very good quality and the files sizes are a little high sweatdrop .)
1. Well, you get yourself a purdy banner or something first. Then open it in ImageReady. (I'm using ImageReady 7.0)
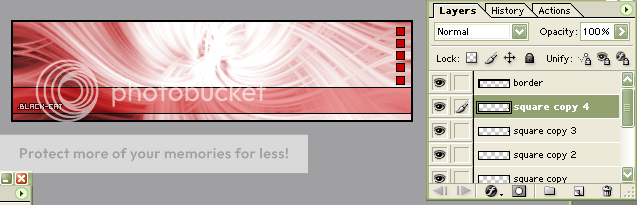
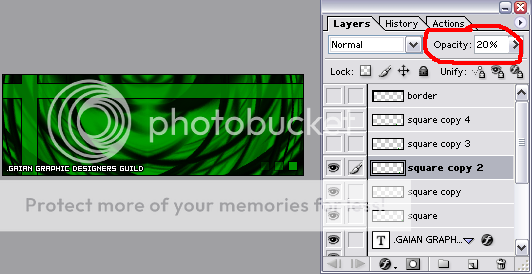
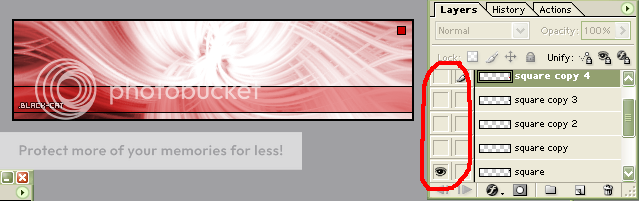
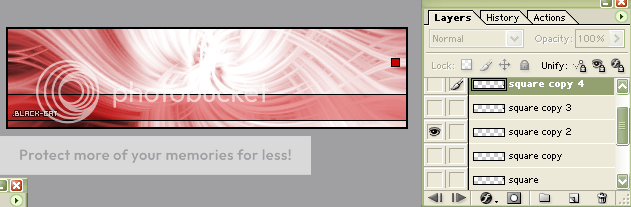
I want to animate the squares here.
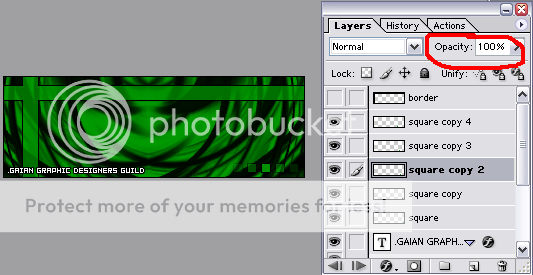
2. Click the visibility icons (the one that looks like an eye) next to the layers you don't want seen in the first frame.
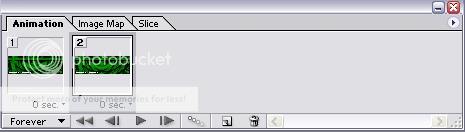
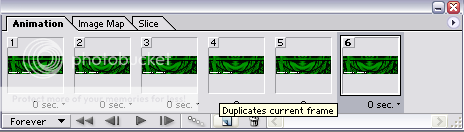
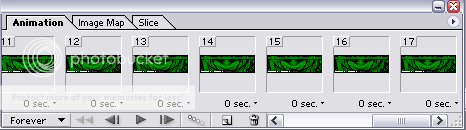
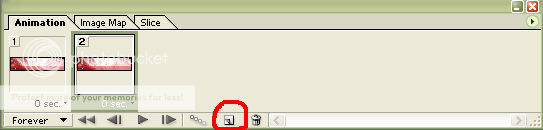
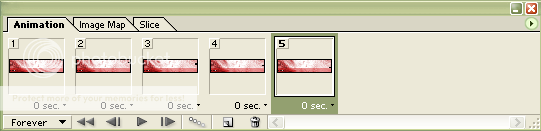
3. In the Animations window (Window > Animation) click a new frame using the button encircled below.
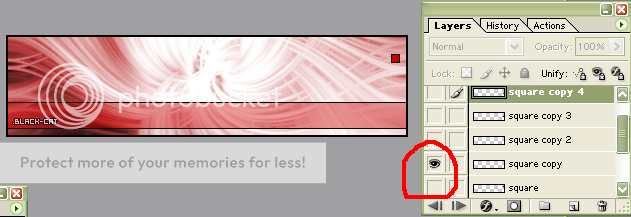
4. Make the first square invisible and the second square visible by clicking on the Visibility icons I told you about.
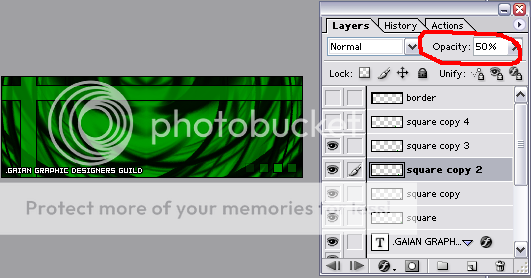
5. Create anther frame...
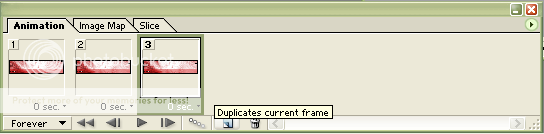
... and switch the visibilities again.
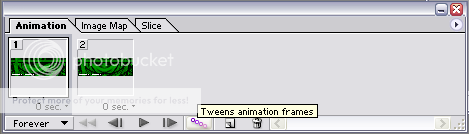
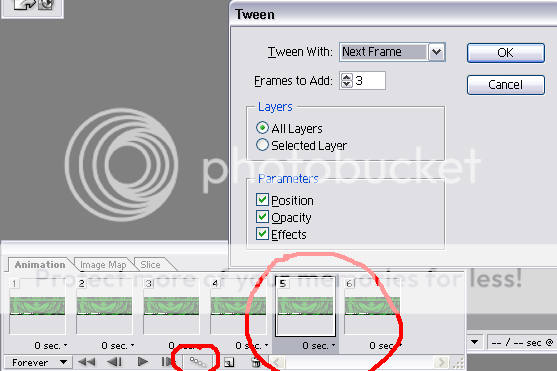
6. You pretty much get the whole process now...
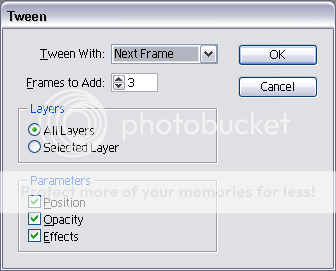
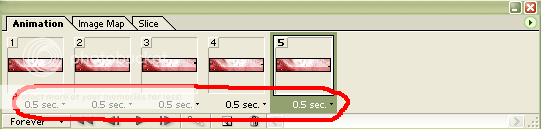
7. Set the timing of each frame if it's animating too fast for you.
8. Now go to File > Save Optimized As... (do not confuse it with "Save As...") and save your image as a .gif file.
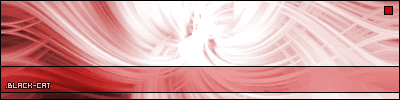
This is what mine looked like:
THIS TUTORIAL IS COPYRIGHTED BY ME (Bara no Chikai - formerly Black-Cat). IF YOU WISH TO SHOW THIS TO SOMEONE GIVE THEM THE LINK TO THIS THREAD.