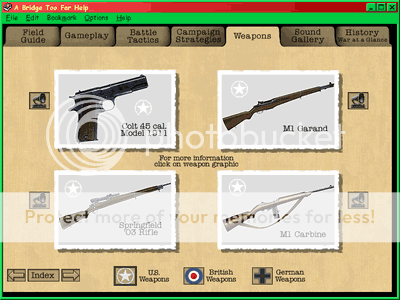
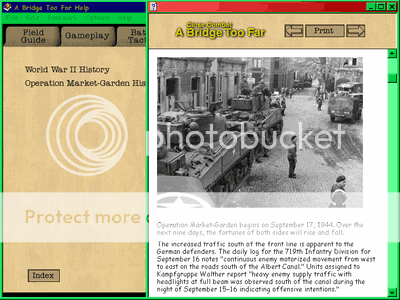
Pictures below (Thumbnail images - Click to enlarge)
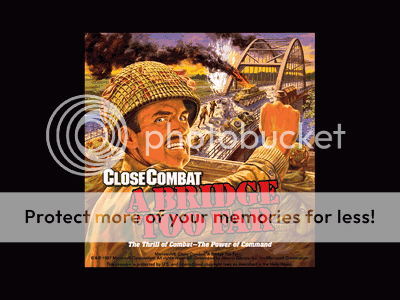
The title screen; rendered with impressive, intricate artwork illustrating the Allied struggle to capture the Arnhem bridge, and conversely, the German's zealous determination to resist Allied seizure of the bridge.
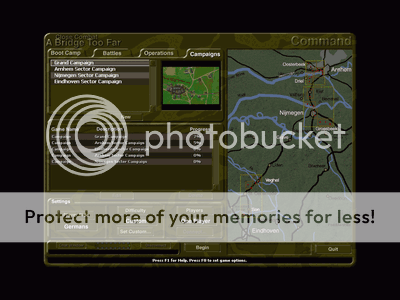
In the campaign mode, you're able to choose between three separate sectors that comprised Operation Market Garden's venues; or all of the sectors as a whole. Be prepared to orchestrate battle plans across several operations occurring simultaneously. Your level of performance in an operation of one sector may help, or hinder your chances of success in other operations of other sectors, especially more so on the grand campaign's scale.
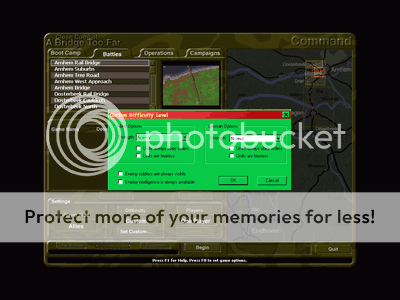
At the discretion of the player, various options on ABTF's difficulty setting can be adjusted, and customized to cater to a player's individual skill level.
Personally, I prefer to play with the following settings selected:
Allied, and German troop strength set to "Normal," neither side's soldiers are fearless, nor always obey orders. Additionally, intelligence on enemy whereabouts, and details are not always available on hand. These settings pose a formidable challenge to face, and simultaneously yield a more dynamic flow of battle.
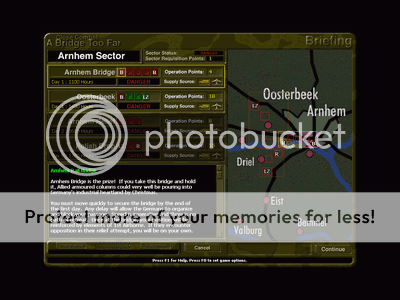
The briefing screen displays all ongoing, and future operations in a sector, subdivided into a series of maps. Progress in operations is defined by the amount of territory you control, compared to the enemy. Sometimes, you may already possess all the maps in an operation by default, and need to prevent the enemy from conquering your territory; conversely, you may start an operation with little, to no control, and need to wrest territory from the opposition.
Playing as the Allies, I start with no control of territory in this operation whatsoever, and therefore, must forge a path for myself. The task of taking the Arnhem Rail Bridge intact from the Germans as indicated in the mission briefing, is my first objective. Helpful advice can be discerned from reading each body of text beneath each map's name; they'll give you a basic idea of what to expect on every map.
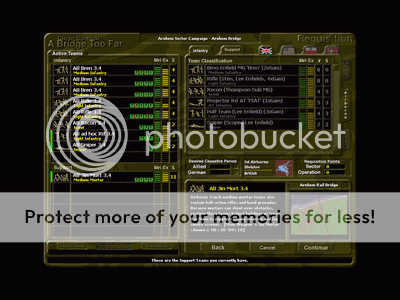
Unit requisitioning follows the briefing screen. For any battle, how many units you can add to your active roster from your reserve forcepool, is contingent upon four variables; the amount of operation, and sector points available; the quantity of units, themselves, and their costs to deploy them. Units fulfill various duties that you might need on the battlefield, such as heavy infantry; meant for assaulting enemy strongholds or a machinegun team for defending areas from attack. Sometimes a number of units will be already deployed for you, and you may choose whether or not to keep or exchange them for other units. Whatever units you ultimately send to fight, your choices will affect the outcome of the ensuing battle; for better or worse.
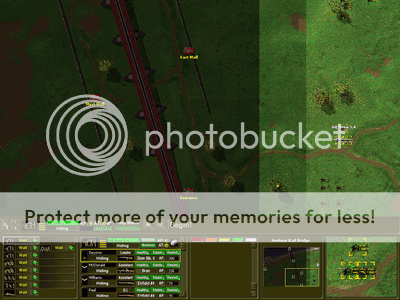
Finally, prior to every battle is the deployment phase, in which you'll be allowed to place troops around within territory under your control. Thoughtfulness in deciding where exactly to deploy your troops is crucial, and can make the all the difference between victory, and defeat. Depending on the amount of available manpower to you to use, you may have to prioritize which areas have more strategical value over others, and concentrate more so on attacking / defending those specific areas.
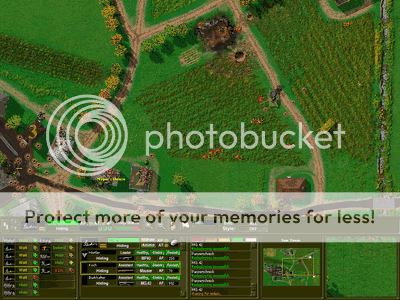
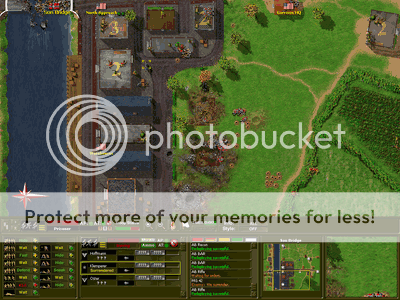
Here, playing as the Allies; the British, at Arnhem Rail Bridge, because of my sizable amount of manpower to use to my advantage, I can afford to spread my infantry, and support teams apart; wide enough to span the whole length of the frontline. However, the bulk of my forces are situated in the middle; poised to attack the East Wall objective controlled by the Germans.
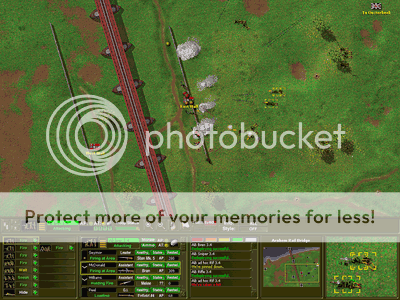
As combat unfolds, you'll have to maintain vigilance of everything happening around the battlefield, and plan an overall strategy to overcome the enemy, yet implement appropriate tactics to achieve that strategy, as well. Lastly, you'll need to adjust your strategies, and tactics appropriately as circumstances change.
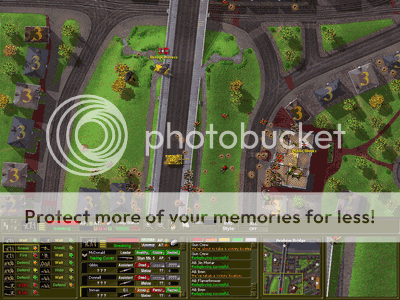
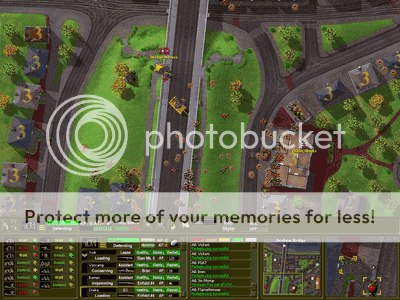
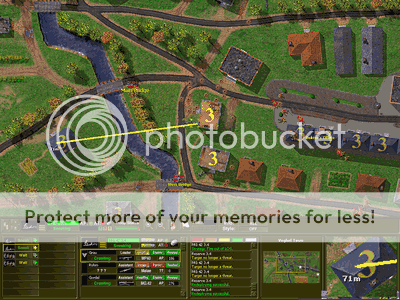
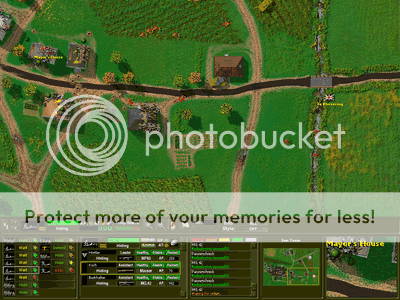
My opening gambit for the battle is a command for Allied troops to crawl cautiously across open terrain towards the East Wall, which to seize from the Germans. After using a mortar to obscure the enemy's view with smoke canisters, I issue two squads to lay suppressive fire on the Germans while a third squad attempts a flanking maneuver to the northern end of the East Wall. The Germans try to counter by throwing grenades into the smoke, when their rifle fire proves too inaccurate. Although they do manage to inflict a few casualties, their success is limited. All of this is occurring during the middle of a timer's countdown. The German can detonate the rail bridge wired with explosives, once the timer reaches zero; the very bridge I'm racing to take before the Germans can destroy it, yet without endangering my troop's lives by advancing recklessly.
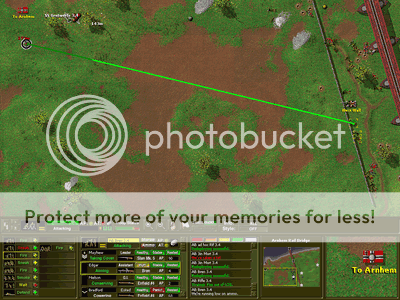
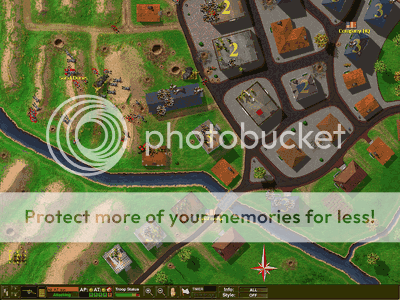
Unfortunately, despite my efforts, after wresting control of the east, west walls, and rail bridge entrance from the Germans, I couldn't take the actual rail bridge in time before the Germans fulminated it. Regardless, all that remains of the German force on the map are a few pockets of resistance. I regroup my forces along the parapet of the West Wall, before eventually expelling the last of the Germans from the map in a final offensive thrust. A handful more of Allied casualties are inflicted by the German defenders, but the majority of my soldiers remain alive, and unscathed.
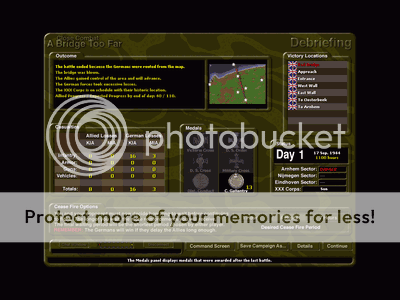
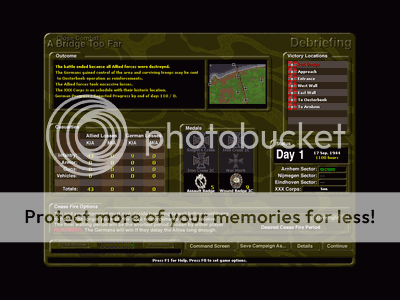
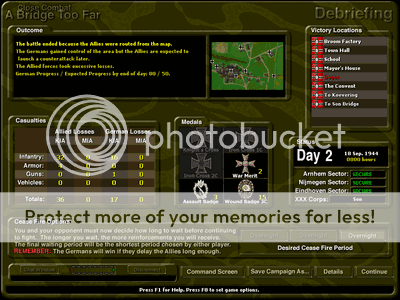
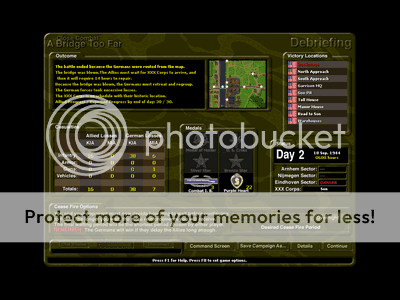
Win, lose or stalemate, following the conclusion of every battle, you'll arrive at a debriefing screen that reviews all the highlights of the battle, itself. Every debriefing tracks the amount of casualties both sides sustained during the fighting, and as well as the types of medals awarded to the soldiers on your side. The performance of your individual soldiers can be checked on the "details" option, additionally. Finally, you must then decide how long you wish to wait before resuming combat with the enemy. The longer period of time you wait, the more reinforcements you'll receive to replace your losses; but, likewise, so might your opponent. Choose wisely.
Although it appears I selected to wait for four hours, I ultimately chose to wait for one hour before perusing the Germans to the next map. Thankfully, it's because Allied casualties were somewhat lower than originally surmised.
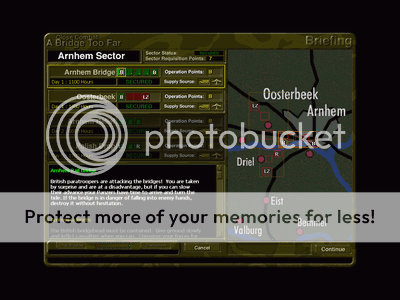
In a separate campaign, I switch sides, now assuming the German role in the Arnhem sector. At the outset of the campaign, I will begin with secure control of this sector. However, there is a major tradeoff involved; the Germans have been caught asleep by the sudden Allied invasion; and thus, are notably disadvantaged in the initial stages of the game. The best course of action the Germans can employ is to force the Allies into a battle of attrition. This can be achieved by delaying the Allied offensive as longest possible in order to allow time for more reinforcements to arrive to help impede the Allied advance to a standstill, and if necessary, counterattack to rebuff the Allies from any territories lost.
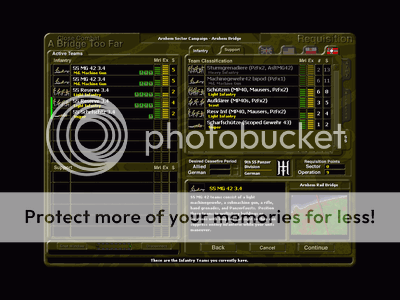
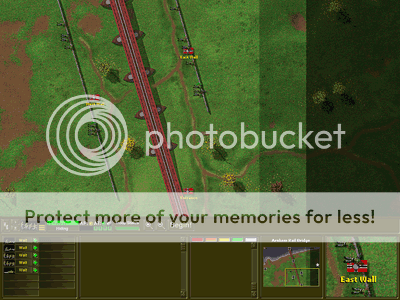
Even with the few extra infantry teams I could afford to deploy, they're still insufficient in terms of being half the numerical strength in manpower I'm comfortable commanding. This is a significant problem to contend with as I cannot realistically protect all victory locations from the Allies without stretching my force dangerously thin in the process. Nonetheless, I have a plan to at least mitigate the effects of this shortcoming...
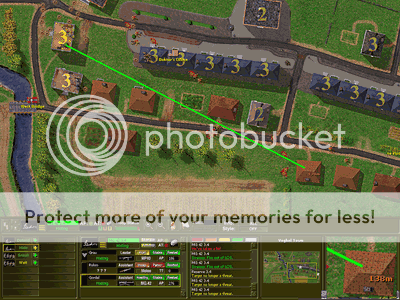
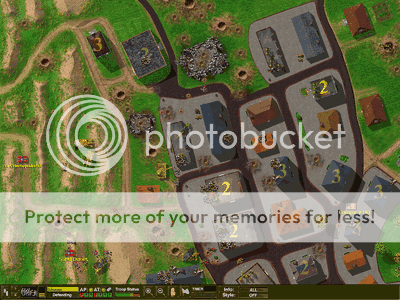
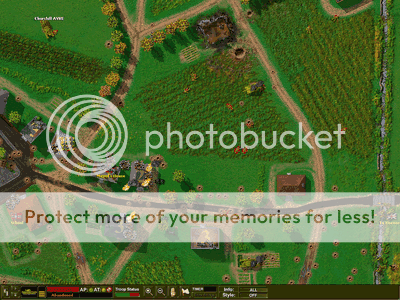
From a defensive viewpoint of the battlefield, I view the parapets of the west, and east walls not only as uses for cover, but also as lines of defense; the east being the first line, and the west, the second line. I figure I'd deploy at least some units behind both walls, for the intent of keeping the west wall as a fallback position when I order those behind the east wall to retreat when it's imminent to be overrun by the Allies.
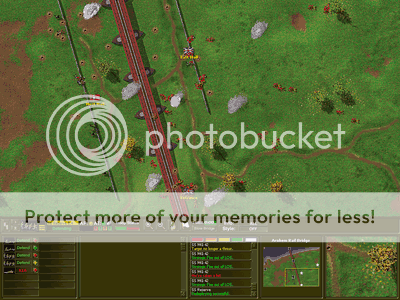
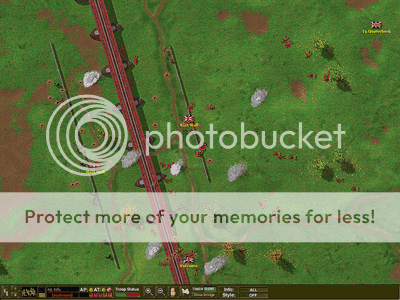
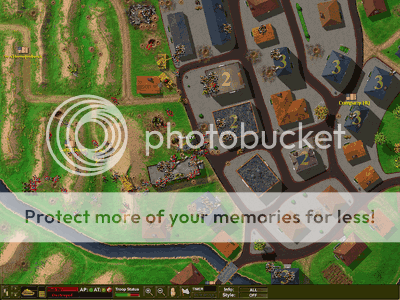
An expanded view of the bloodletting suffered by both sides.
